Yarn art is making a comeback, as with so many other things from the 60’s and 70’s, and it’s the perfect DIY project! We purchased a new-to-us camper recently and because good enough is just never good enough for me, I’m giving it a makeover. I’m trying to stick to a pretty small budget because, well, it’s a camper and not our home. I initially purchased some super cute wall decor from Target (duh) but decided it would be super easy and super cheap to make my own DIY wall hanging yarn art and embroidery hoop decor. Here are the DIY instructions to recreate it!
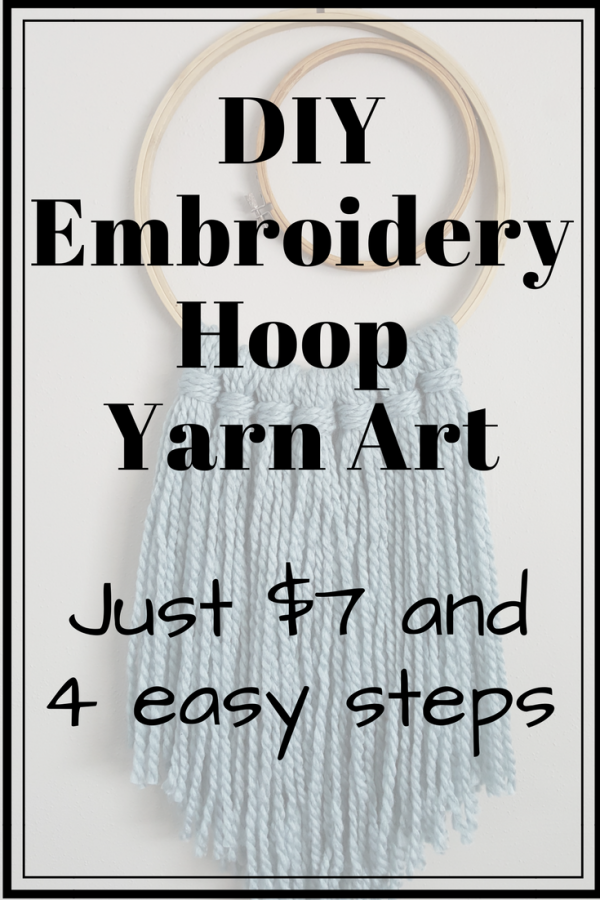
DIY Wall Hanging Yarn Art & Embroidery Hoop Decor
Our camper has a pretty small bathroom but it needs something to give it a little pizzazz. I decided to jump on the trend wagon and do an embroidery hoop art wall since they are narrow and lightweight. The embroidery hoop art wall will consist of 5 small to medium hoops, one yarn art, one embroidery hoop wreath, one painted, one stained, and one with stretched fabric.
For reference, my initial purchase and inspiration is this yarn art wall decor from Target.
DIY Yarn Art Supplies
Embroidery Hoop – As I mentioned, I used an embroidery hoop because it matched the other pieces on the wall and we’re going for a more rustic look. You could also use a dowel, tree branch, gold metal hoop, or anything rigid, really. I used a 10″ and a 6″ and they cost around $1.50 a piece.
Yarn – I prefer the look of chunky yarn in for yarn art but you can use any style. Keep in mind, the thinner the yarn, the more you’ll need to create fullness in the DIY wall hanging yarn art. I got 1 skein of Loops & Threads® Cozy Wool™ Yarn with a coupon for $4
Scissors – Free because you probably already have one!
*Factual Tip – If you’re a crafter, get a nice fabric shear, they are SO worth it!
Glue – You’ll need glue to attach the small embroidery hoop to the inside of the large embroidery hoop. Any glue will work but I recommend hot glue. It’s fast and easy and I already had it. If you don’t have one, a hot glue gun will set you back about $6 and extra glue sticks are around $4 but it will last you a long time (like maybe forever) and you’ll never go back to any other glue.
*Stain or Paint – This is optional. I debated on staining the embroidery hoops at all but decided it would help them stand out from the wall color. I used 2 different stain colors (Early American and Weathered Oak) on my DIY embroidery hoop art and I already had both colors so free! If you don’t have stain you can get small sample cans for around $3-5 each.
DIY Wall Hanging Yarn Art Instructions
Seriously, just 4 easy steps! You could even do this with the kids for a fun DIY kids craft!
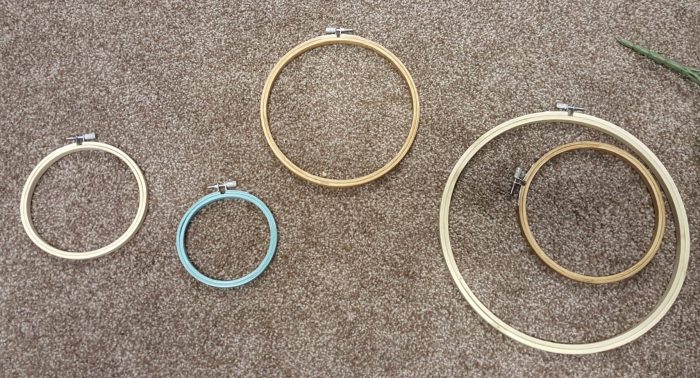
Step 1: Stain or Paint Embroidery Hoops
I used a 10″ for the large hoop and a 6″ inside to give the DIY wall hanging yarn art an extra design element. I stained the outside embroidery hoop Minwax Weathered Oak and the inside Minwax Early American
Step 2: Cut Yarn for DIY Wall Decor
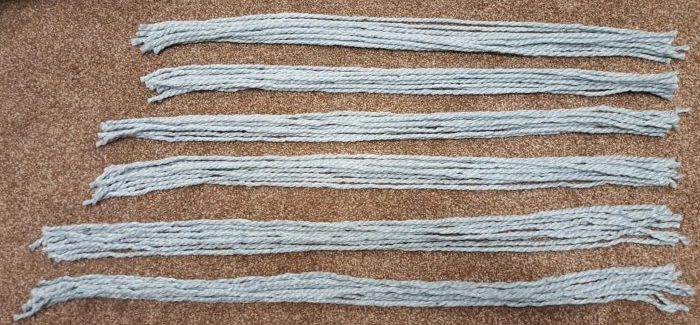
Determine how long you want your longest center piece. Double that length and cut 10 pieces of yarn (more if you’re using a thinner yarn) for the center bunch of your DIY wall hanging yarn art.
To get the curved bottom edge, cut the next bunch about 2″ shorter than the first. Cut 2 bunches of 10 at this length, one for each side of the center bunch.
Again, cut 2 bunches 2″ shorter than the previous and continue this for as many as it takes to reach your desired look. I used 4 different lengths for a total of 7 bunches (one long bunch in the middle and 3 on each side).
Cut 7 long extra pieces of yarn to tie off the bunches (or however many needed to tie off each of your bunches).
Step 3: Tie Yarn Art to Embroidery Hoop
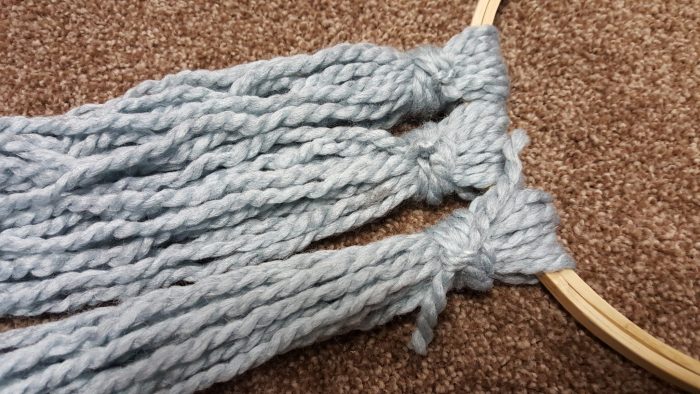
Drape the middle bunch over the bottom of the embroidery hoop. Wrap the tie around the bunch 4 times and knot at the back. Trim the tie ends short.
Drape the next longest bunches over the hoop and tie off. Continue this with the remaining bunches.
Once they are all tied on, trim the yarn ends of your DIY wall hanging yarn art if there are any at odd lengths.
Step 4: Glue Embroidery Hoop Art Together
Determine the placement of your inner embroidery hoop keeping the screw placement in mind. Glue your inner hoop to your outer embroidery hoop and allow to dry.
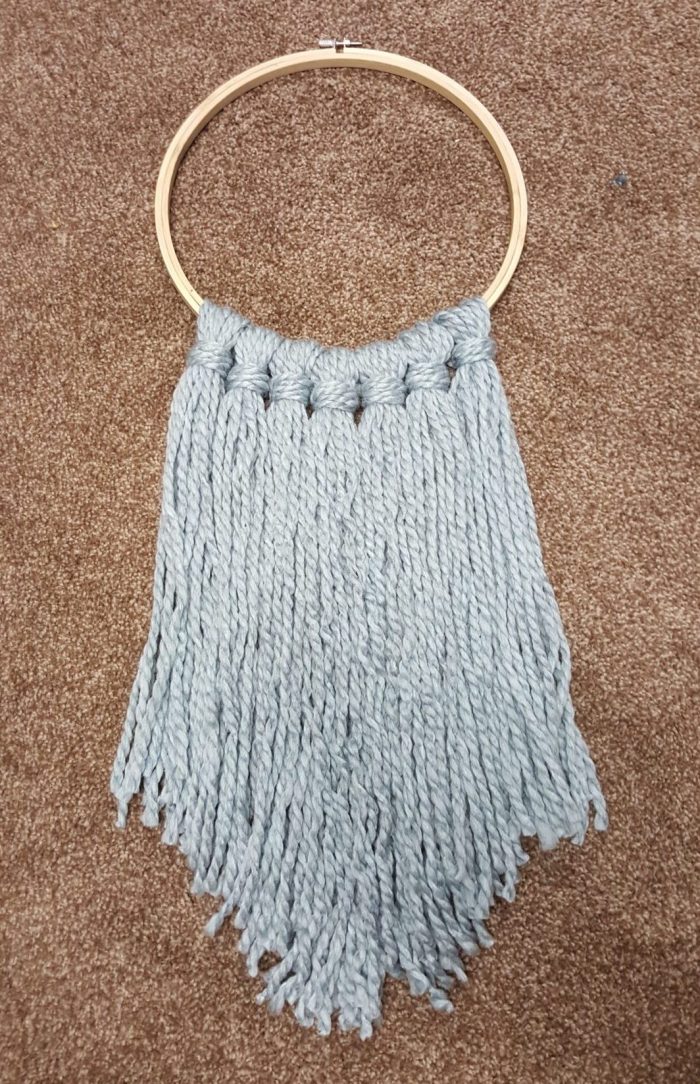
TADA!!
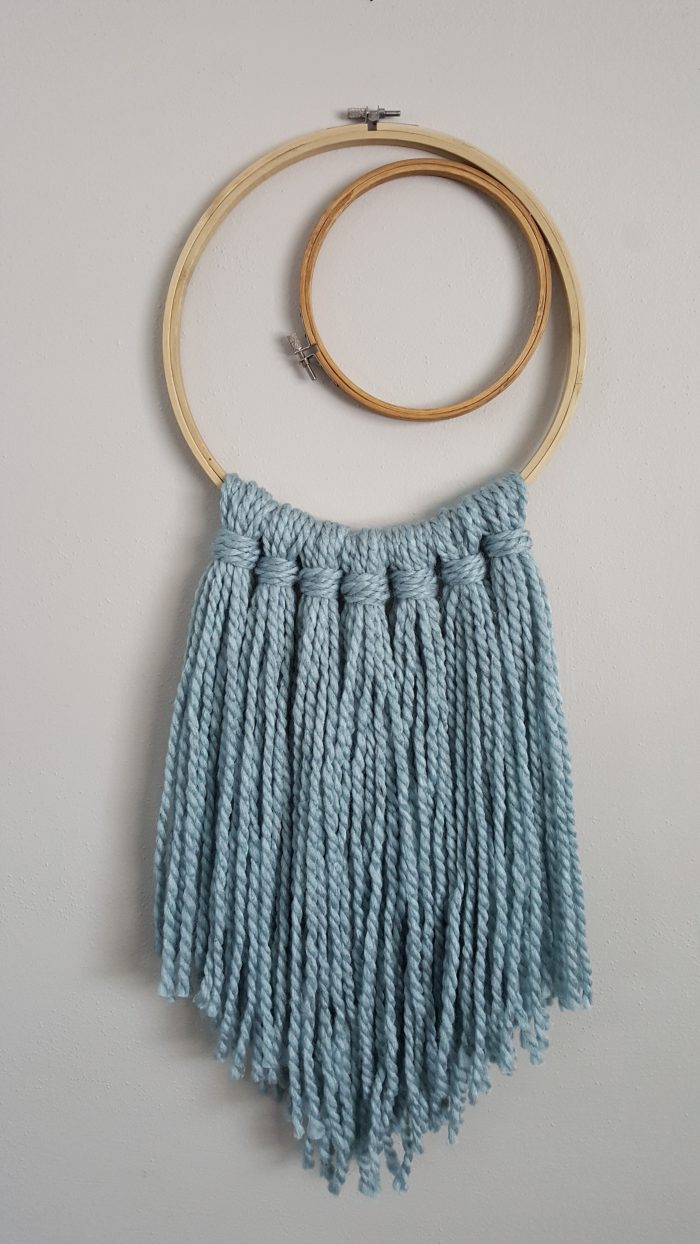
Your DIY wall hanging yarn art is complete!
Hang using a removable hook or a small nail and you’ve got super easy, super cheap, and super chic DIY wall decor. I love combining the yarn art trend with the embroidery hoop art trend. So cute and fun and there are so many easy ways you can make it your own.
Stay tuned for my DIY embroidery hoop wreath post and the finished DIY wall art for our camper renovation!
How did your DIY embroidery hoop yarn art turn out?
Share your photos in the comments below!
I can’t wait to see them!
XO,
Meg

