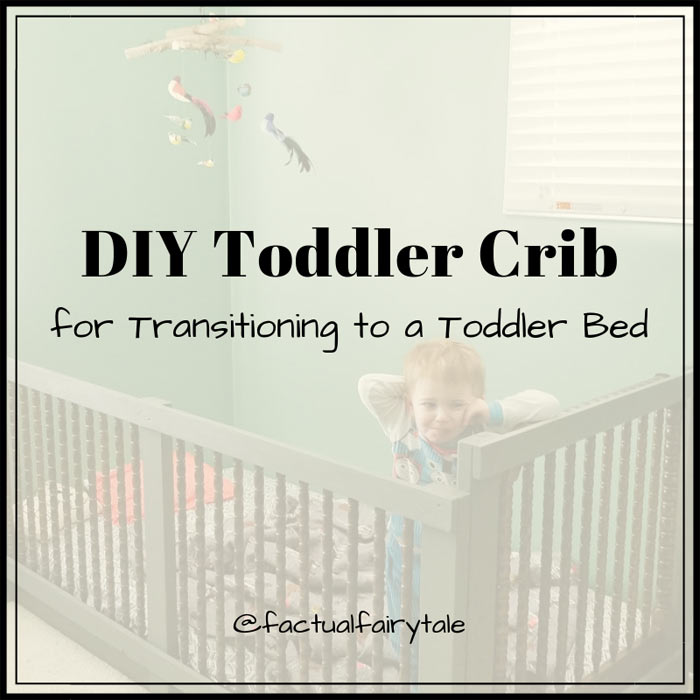
With baby #2 nearly here and our son already turning 2.5 years old, I was dreading the idea of buying a second baby crib for only (hopefully) few months of use. We set out to make a big boy room that he would love to help him transition out of the crib and into a toddler floor bed before baby brothers arrival. Well, that didn’t work. We tried moving him to the new shiny toddler room (which he loved) but he just wouldn’t stay in bed and the doorknob cover (which kept him safely in his room) made him scream bloody murder. Honestly, I don’t blame him. Who wants to be trapped in a room?! So we needed a plan b. Our plan, a DIY toddler crib using my vintage crib rails to transition to a toddler bed.
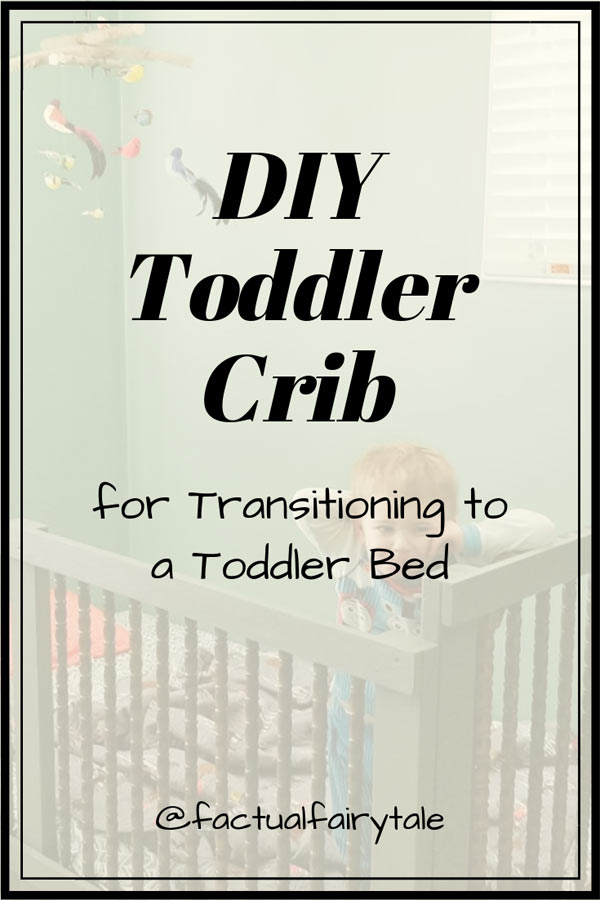
How to Keep Toddler in Bed
So, how to keep toddler in bed? We had a few options.
- Moving his crib into the toddler room and buying a new baby crib would cost us about $100+ for the crib itself plus another $100 for the mattress. So, $200+ was going to be the last resort.
- We could try a baby gate in the doorway with the door open so he didn’t feel trapped but I have a weird fear of house fires and we also have cats that would keep him up all night, so that wasn’t a great option.
- Some suggested just putting him in bed and every time he got up, put him back in bed. Well, I wanted to keep my sanity so that was just a no.
- Finally, the solution was clear, a toddler crib that he could transition into for the short term until he was used to his new room and toddler floor bed.
DIY Toddler Crib for Transitioning to a Toddler Bed
*As with any DIY project, it has not been tested or passed any inspections. The builder assumes all responsibility for quality and safety. Factual Fairytale is not responsible for any injury, incident, or accident resulting from this guide.
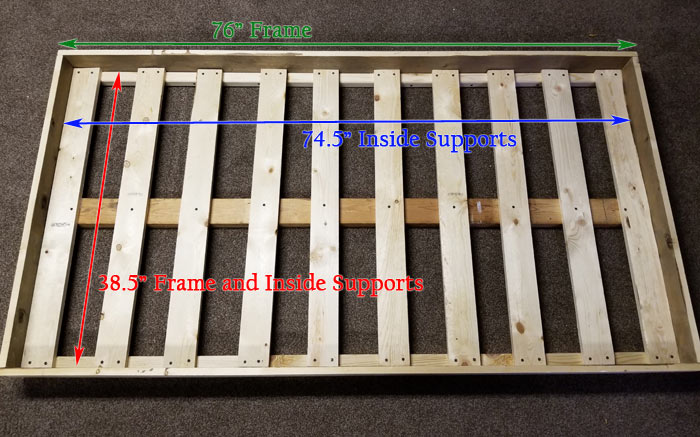
We had already built a toddler floor bed frame for his big boy room so if you don’t have a solid wood frame that’s where you’ll need to start. It’s super easy to build and the cost is minimal. Plus, it can transition with them as they get older by simply removing the rails and using just the floor bed frame.
Read our DIY Toddler Floor Bed Frame Instructions.
Supplies for Toddler Crib
Crib Rails – You don’t need to have pre-made crib rails, but it will make the project much easier if you do have them. My mom kept my vintage crib from when I was a baby and unfortunately the crib itself is no longer safe to use because it’s a drop side. We kept it anyway just in case we wanted to make something else out of it down the road and I’m so glad we did! The slats are sturdy and safe for a toddler and made this project a breeze!
Lumber
- 2″x4″x8′ – QTY 3 – These are for the vertical supports.
- 1″x3″x8′ – QTY 3 – These are for the horizontal supports.
- *If you don’t have premade crib rails you’ll also need 1″x2″x8′ boards to create your own railing.
Screws – We needed 2″ screws for the main frame and to attach the thick end crib rail to the frame. We also used 1 1/4″ screws to attach the thinner side crib rails to the frame.
Drill/Driver Combo – To save you hands from screwdriver cramps! This is ours.
Drill Bits – You’ll want to pre-drill holes near the edges of the lumber to prevent splitting. Drill Bit Set
Tape Measure + Pen – For obvious reasons. I would also recommend a square for making straight lines easily.
Circular Saw – A circular saw or any saw that will easily cut a straight line.
Palm Sander or Sand Paper – Use a palm sander to smooth the cut edges to prevent slivers and snagging bedding.
Kilz Primer + Brush (optional) – all raw wood needs a coat of good primer to seal it before painting.
Paint + Brush (optional) – I recommend paint just because it will seal in any rough areas better than a stain.
Clamps (optional) – We used bar clamps to hold the crib rails in place while we screwed them to the frame. Not necessary but it made it a little easier.
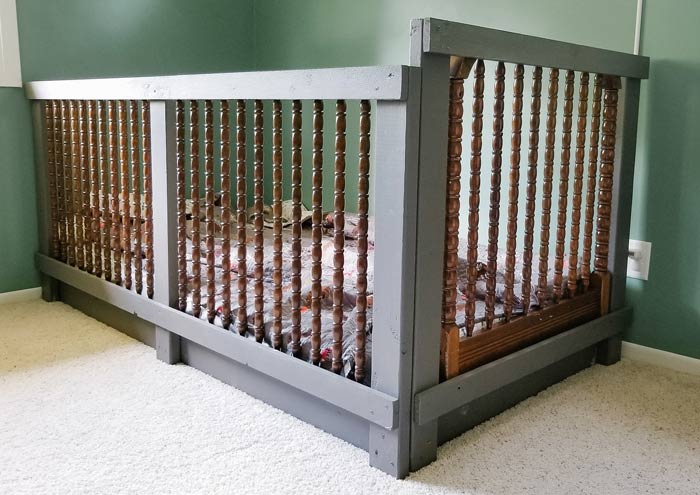
How to Build Toddler Bed Rails
Step 1: Build Toddler Crib Frame
Cut 2″x4″ vertical boards to fit the height of your crib rails. We designed ours so the bottom of the crib rails are a few inches above the ground but lower than the top of the mattress. Also, keep in mind the end rail might be taller than the side rail. Attach the 2″x4″ vertical supports to the corners of the bed frame and one in the center of the long side of the toddler bed.
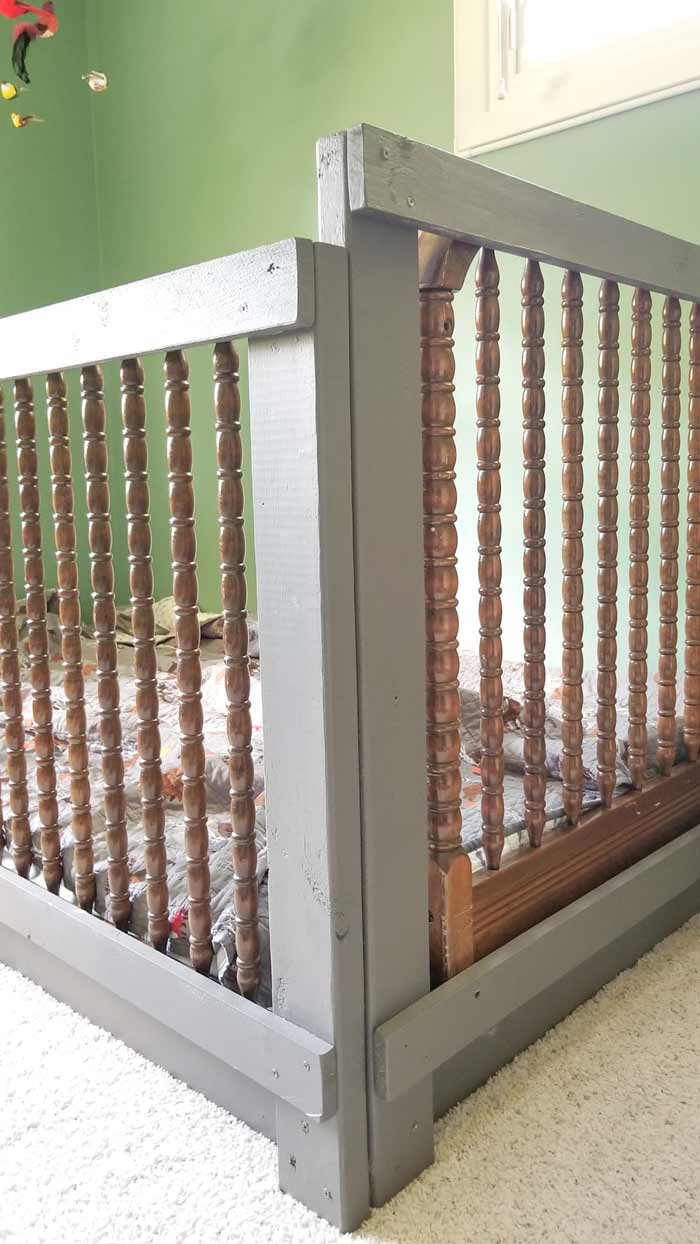
Cut 1″x3″ horizontal boards to fit the length and width of your toddler bed at the top and bottom of the vertical supports. Attach the 1×3 horizontal supports to the outside of the 2×4 vertical supports at the top. Attach the 1×3 horizontal supports to the outside of the 2×4 vertical supports near the bottom but above the top of the mattress. Make sure your crib rails will fit between the top and bottom horizontal rail with room to screw it to each.
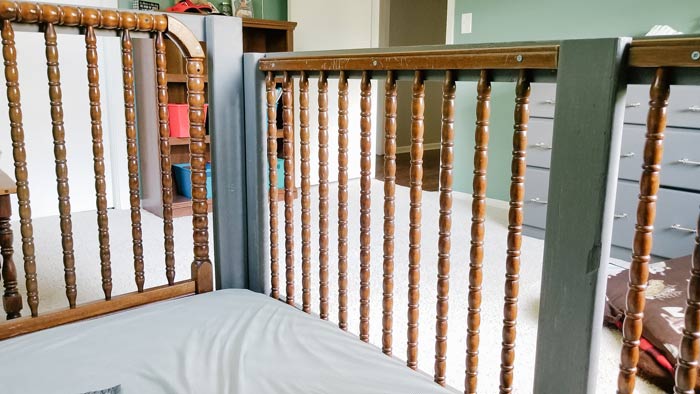
*If you are making your own crib rail slats, you would cut and attach them now. Make sure they are attached with a safe spacing.
Step 2: Paint the Frame
Now that the frame is screwed together, paint or stain the frame as desired and allow it to fully dry. If using unfinished wood it is best to first prime the wood with a high-quality primer like Kilz or Zinsser.
Step 3: Attach Premade Crib Rails to Toddler Bed Frame
*skip this step if you made your own slats in step 1.
If you are using actual premade crib rails, measure the openings between the 3 vertical supports on the long side of the toddler bed rails frame. Cut 2 crib rails to fit in each section. Attach the top and bottom of the crib rails to the top and bottom of the toddler bed rails frame using screws.
Last, attach the end crib rail to the end of the toddler crib frame at the top and bottom.
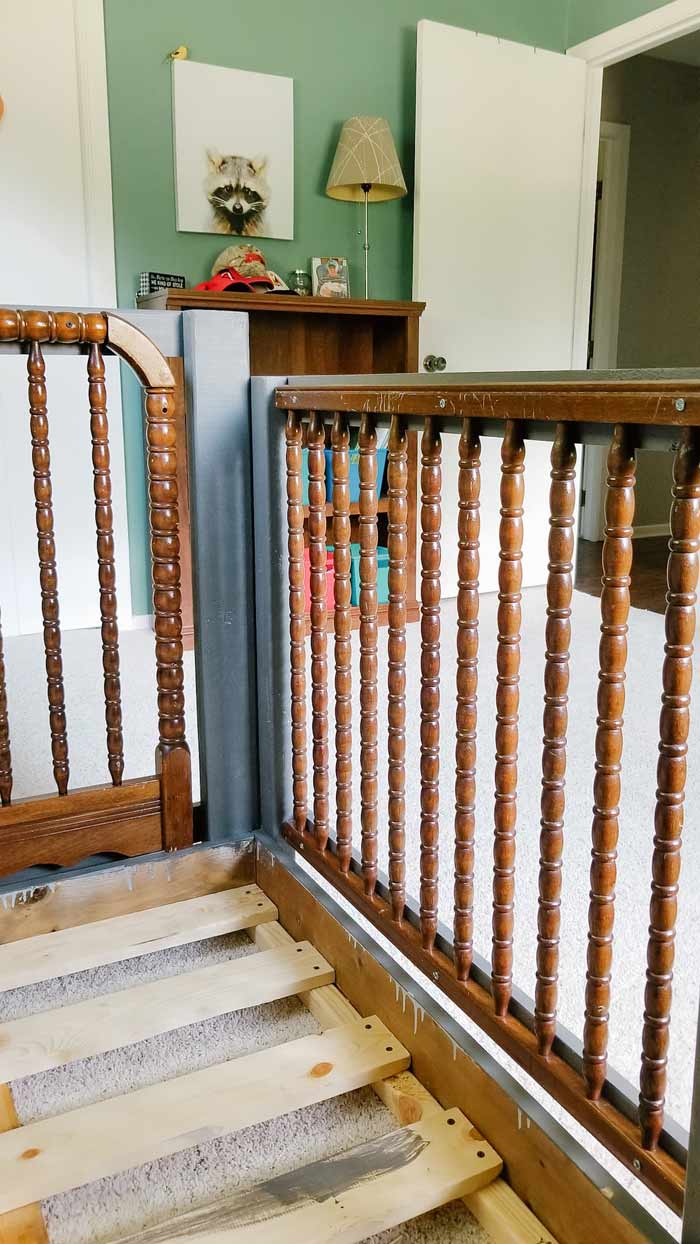
*Factual Tip: Keep the excess crib rail! Down the road, we plan to use a smaller portion of the leftover crib rail to make an opening in the toddler crib. We’ll replace one of the full-length side rails with a half piece creating a bed “fort” that he can get in and out of on his own! At that point, we’ll use this light to tell him when it’s okay to get out of bed.

How to Keep a Toddler in Bed? A DIY Toddler Crib!
Transitioning to a toddler bed is so much easier with DIY toddler bed rails that form a makeshift toddler crib. Sure, it’s cheating a little, but it allows you to transition earlier than you might be able to otherwise. It’s also a really simple and inexpensive project that will save your sanity!
How did you make transitioning to a toddler bed easier?
Share your tips and tricks in the comments below. You can also send me your completed project photos to [email protected]. I’d love to see your DIT toddler crib in action!
Until Next Time,
XO,
Meg
