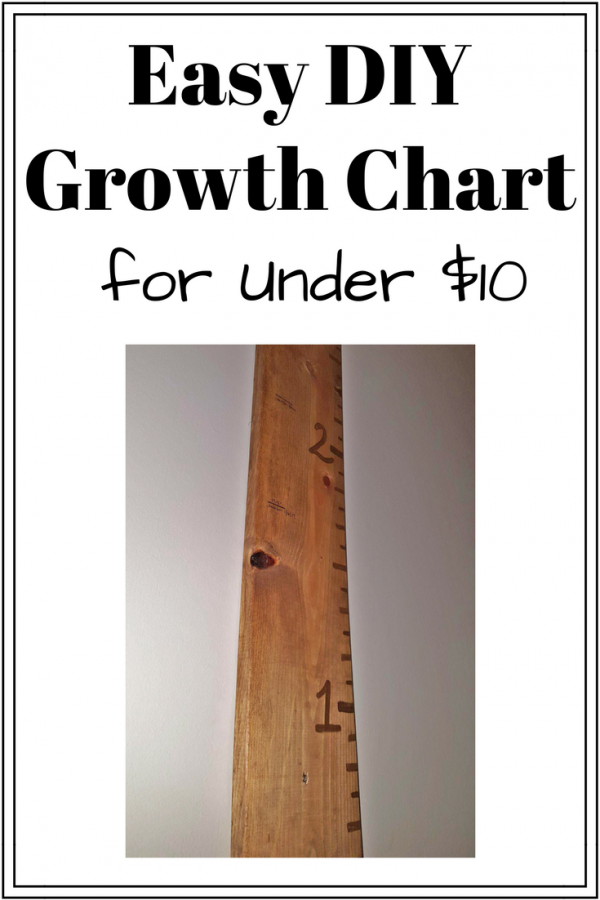
Everyone loves the idea of tracking their child’s growth over the years. It’s such a cute way to look back on how tiny they were way back when (or even 6 months ago!) I know so many people who have unpainted, dirty patches of wall in their house with the family’s names growth listed. Painting around those special memories is one way to preserve them but what about when you move? Will you cut out the sheetrock? Probably not. But, you’re in luck because there is a solution. It’s this cheap (under $10!) and easy DIY growth chart wood ruler. And, if you build our DIY Barn Door Baby Gate with Pet Door at the same time, a lot of the supplies and tools overlap which will save you even more time and money!
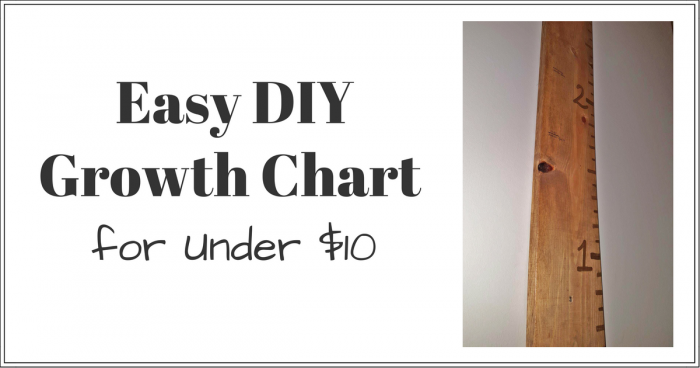
Easy DIY Growth Chart Wood Ruler for Kids: Under $10
This baby growth chart DIY is seriously the easiest project you will ever tackle and it’s so rewarding to be able to take these memories with you (and clean and paint your walls) from home to home as needed.
Supplies for Your DIY Growth Chart Wood Ruler
You don’t need much for this baby growth chart DIY project. Supplies will vary depending on what lumber you find at the store and where you’re hanging your DIY growth chart.
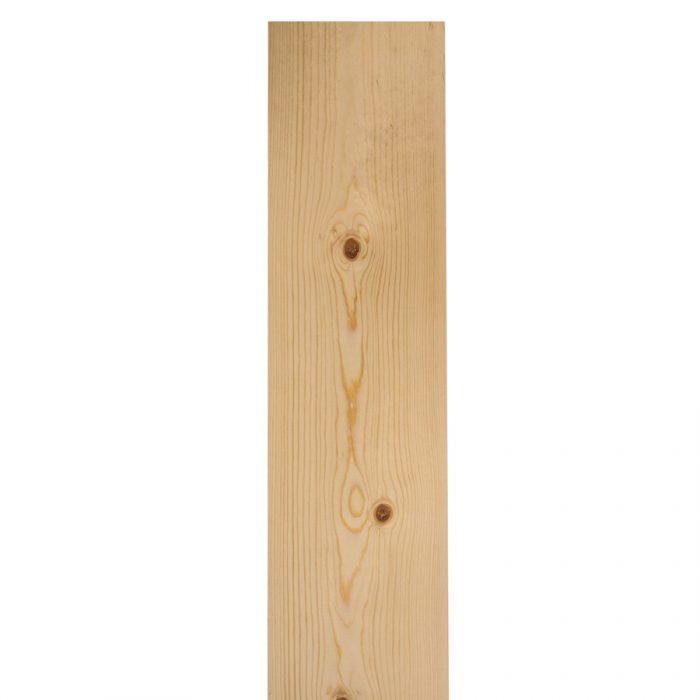
1″x4″x6′ board – We’re a short family so we didn’t need to go too high. We hung ours 6 inches off the ground so a 1″x4″x6′ board allows us to go up to 6 feet 6 inches which is PLENTY for our needs. If you have very tall people in your family get a longer board or start higher off the ground. This will run you around $2.
Indoor Wood Stain – Finishing the board with interior wood stain will keep it looking cleaner than paint and you don’t want to have to wipe down the baby growth chart in case the growth marks rub off. You can get the smallest can for this job and you’ll still have leftovers. We used the color Early American and it was about $3.
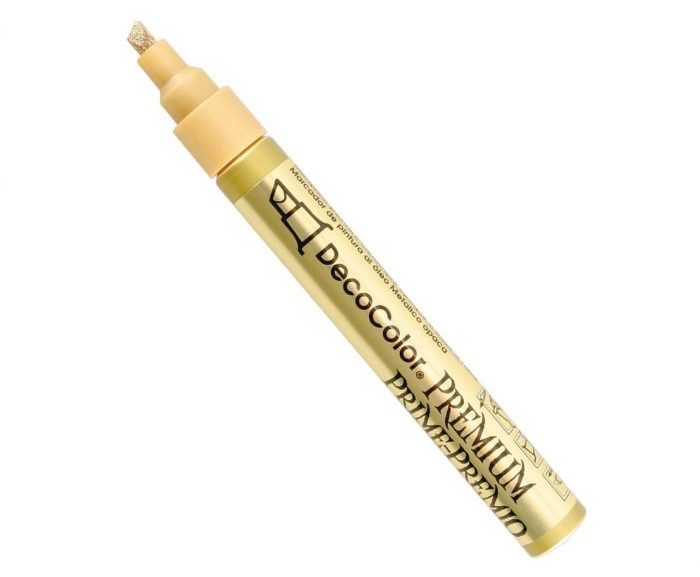
Paint Pen – Paint Pens work really well for writing the growth chart ruler hashes and the numbers on the board. I went with a metallic copper color because my second choice was white and I didn’t like how much that stood out on the board. Paint pens can be found on Amazon in every color. Your local craft store will have basic colors and your hardware store may have a very limited color selection (ours had black, white, gold). They will generally cost you $2-$5 depending on the color and type you choose.
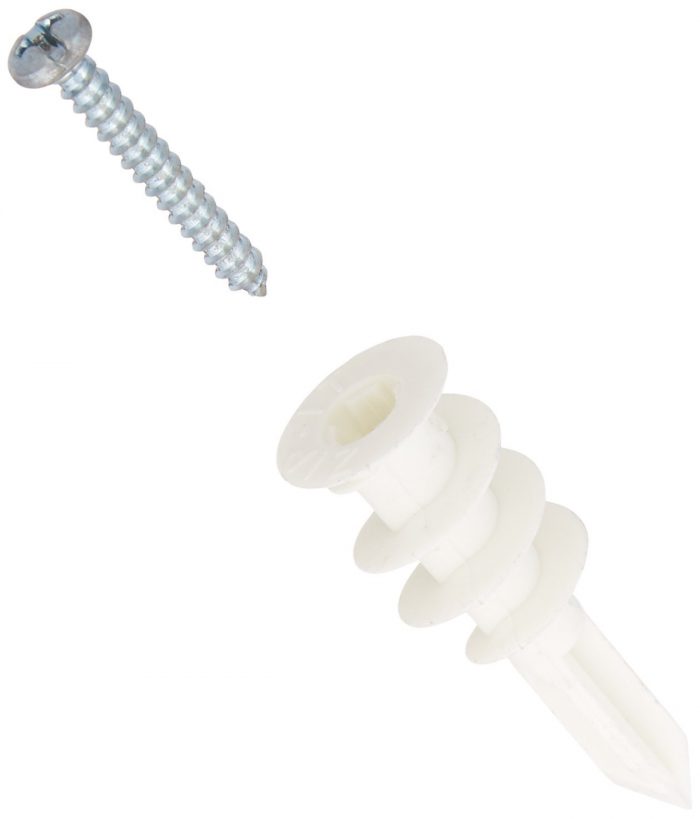
Wall Anchors and Screws – We used wall anchors because we didn’t hit a stud. If you happen to hit a stud just use wood screws. These will be about $2 for a pack at a hardware store.
Tools Needed for Wood Growth Chart
Tape Measure – You’ll need a tape measure for marking accurate ruler hashes and each foot.
Drill + Drill Bit + Driver Head – You’ll want to use a drill and drill bit to make pilot holes in the wood board going into the wall slightly. This will prevent the board from splitting and it will mark the location of your wall anchors. If you need a drill, this set would cover everything you need! Since you have it, use it to screw in the anchors and screws to save time (or use a hand screwdriver).
Level – We used a level to make sure the board was perfectly vertical on the wall.
*Circular Saw – You may need a circular saw if your lumber store doesn’t carry short lengths of 1″x4″. Some stores may only carry 8-foot lengths.
Growth Chart DIY Steps
Mentally prepare yourself, because this is where things get tough. Just kidding 😉 . This is an EASY DIY growth chart wood ruler for kids.
*Prep: Cut Board to Desired Length if Needed
So, if your lumber store didn’t have a 6-foot long board, or you needed to buy an 8-foot board to accommodate a longer 7-foot growth chart, measure and cut your board to your desired length using a circular saw. You may also want to lightly sand the cut edge just to remove any possible splinters but it’s not necessary.
Step 1: Stain Your Growth Chart Wood
Stain the front, sides, and ends of your growth chart wood. You don’t need to stain the back since it will be attached to the wall. Allow it to fully dry.
Step 2: Mark Growth Chart Ruler Lines
Using a pen, mark the ruler lines for your growth chart. Make sure you start marking at 6 inches (or however far off the ground you’ll hang your board) to get accurate height measurements when you stand with your back against the board. I marked each foot placement first (the 1-foot mark was 6 inches from the bottom of the board) to make sure those stayed accurate all the way up. Then I went back and added in each inch mark between the foot marks.
Step 3: Paint Lines and Numbers on Wood Growth Chart
Using your paint pen, color in and lengthen each pen mark. Again, I started with the foot markers and made those a little over an inch long. Once those were pretty dry I went back and colored in the inch markers. I made the even inch markers a bit longer than the odd inch markers so they were easier to count on the DIY Growth Chart Wood Ruler.
I then free handed the foot numbers because we wanted this to look homemade. You can use a stencil or decals if you want them perfect. Allow these to fully dry and fill in any light spots in the paint pen if needed.

Step 4: Drill Pilot Holes in Baby Growth Chart
This part requires 2 people. Choose your wall location and measure up 6 inches from the floor for the bottom of the growth chart ruler. Hold the board in place on the wall and using your level make sure the wood growth chart is perfectly vertical. While one person holds the growth chart wood in place, have the other drill 3 pilot holes, top middle, and bottom, through the wood and slightly into the wall. Remove the board and make sure there are 3 marks on the wall.
Step 5: Install Wall Anchors
If you didn’t hit a stud in the wall, install a screw in anchor in each of the 3 marks on the wall.
Step 6: Hang Easy DIY Growth Chart Wood Ruler for Kids
Screw in the 3 screws so they are slightly poking through the back of the wood growth chart. Hold the board up to the wall and adjust until each screw is placed over the wall anchors. Screw in the screws completely. Tada!
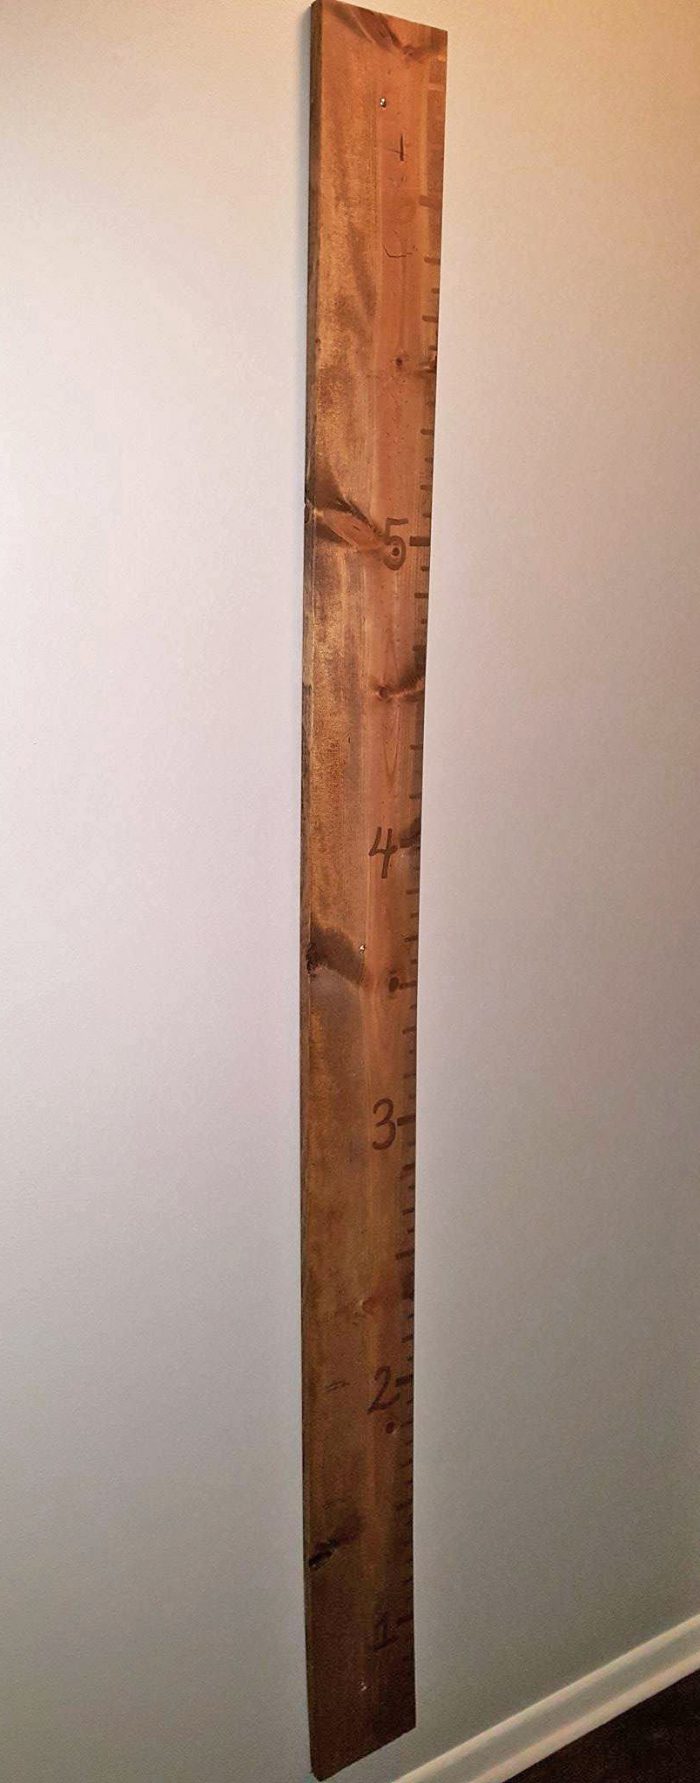
Step 7: Add Your Families Height Marks!
Last but not least, mark your family’s heights (with names) to your beautiful new baby growth chart DIY project! We even went back and added our son’s birth height to the board so we have the full spectrum! So fun and so easy!
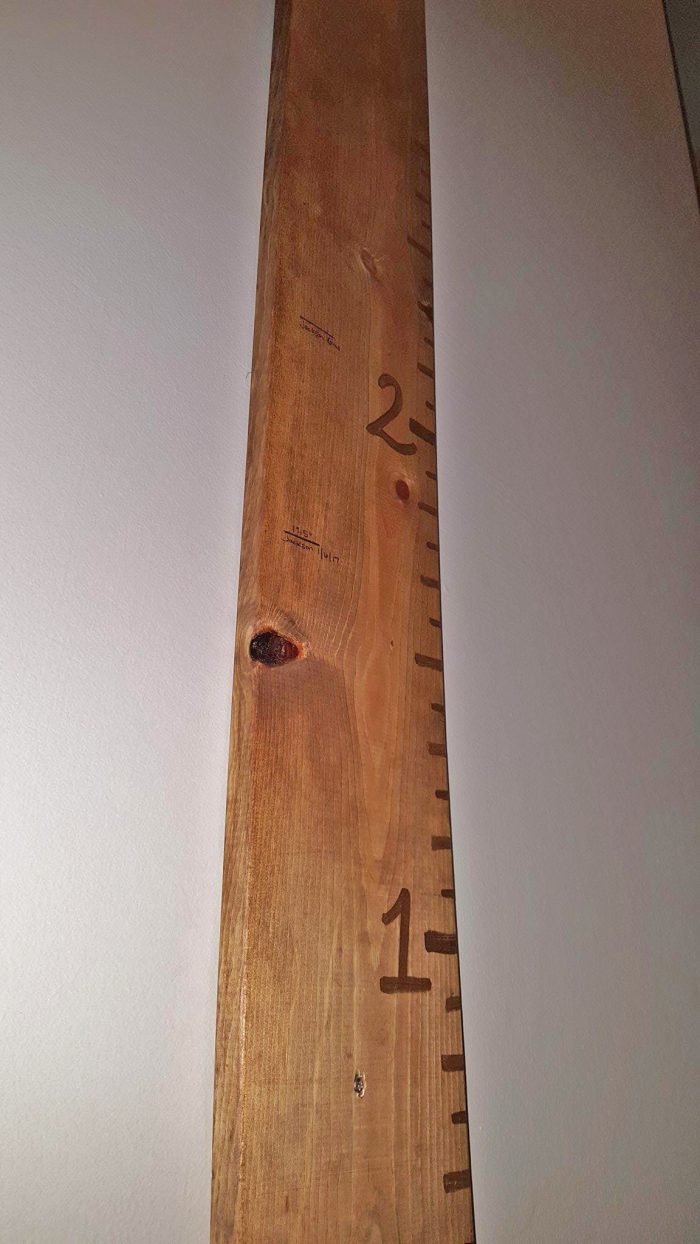
Your Baby Growth Chart DIY Project is complete!
Super easy right?! And now you’ll be able to take these memories with you where ever you go (or just easily clean and paint your walls 😉 ). It’s one of my favorite DIY projects we’ve tackled and it’s by far the easiest. Gotta love when that happens!
Check out another one of my favorite DIY projects we’ve done our DIY Barn Door Baby Gate with Pet Door Instructions.
How did your easy DIY growth chart wood ruler for kids turn out?
Let me know in the comments below!
Until Next Time,
XO,
Meg

