Well, a crib teething guard was not something I ever thought I needed. That is until I woke up one morning to tons of scratches in out lovely, honey stained crib. I was so sad the finish was destroyed (okay, fixable, but I was in shock and being dramatic at the time) and then I realized my son was EATING the crib finish. AH, yuck! And probably not healthy to say the least. So, off I went to Amazon to find something to save our son and the crib from those terrible new teeth. There are a lot of options online if you don’t want to put in any work but they are WAY more expensive than I thought they would be. I seriously considered just buying them but I’m crafty and I couldn’t justify $40-$60 for something I knew I could make for under $10. So, I give you my baby crib rail cover DIY no-sew instructions with pictures to help you save some bucks on baby gear.
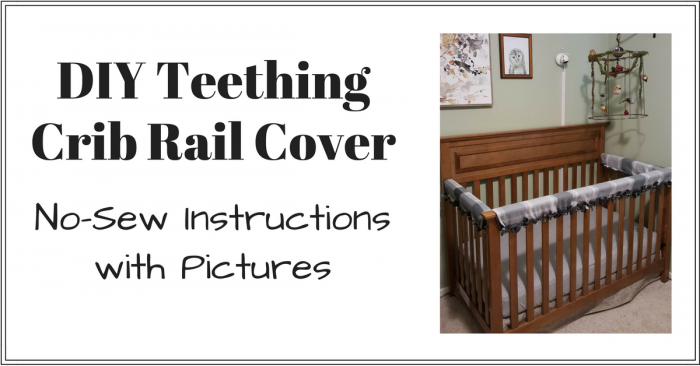
Baby Crib Rail Cover DIY: No Sew Instructions with Pictures
This is an EASY project and it’s cheap. Anyone can do this New Sew Crib Rail Cover DIY project and it will save you upwards of $30-50 at least. Aside from the fabric, you probably have most the supplies at home or can find them for cheap on Amazon or at a Joann Fabrics.
DIY Crib Teething Guard Supplies
This is seriously so affordable. I already had the tape measure and scissors so all I had to purchase was the fleece and I got it on sale for $2.99/yard so my grand total for the project was $6! Saved me $34 (we only needed 3 baby crib rail covers) and I did it while watching Monday Night Football with my husband.
Fleece Fabric – 2-4 yards of fleece fabric is needed depending on the style of crib. Our Rails are 10″ around and we need 1 long side and 2 short sides. I bought 2 yards and used almost all of it. If your rails are wider or you need all 4 sides you’ll probably want 3-4 yards.
Flexible Tape Measure – Using a flexible tape measure to measure around your crib rails will give you a more accurate fit.
Fabric Scissors – Regular scissors will work but fabric scissors with give you a nice, clean cut and it will save your hands since there is a lot of cutting in this project.
DIY Crib Rail Cover Instructions
*Please note: Adding any aftermarket item to a crib is not approved by the AAP. The Factual Fairytale recommends you follow all AAP guidelines and cannot be held liable for failing to do so.
You’ll want to make your baby crib rail covers double layered to absorb any spit from the baby chewing on the rail. I choose to do a new sew because I just didn’t want to bust out my sewing machine for this.
If you don’t like the tie blanket look, you can still make a DIY crib rail cover, just sew the 2 layers together including sometimes every 8 or so inches. The steps are nearly the same just skip the extra fabric for the width and where I tie the layers together, sew them together.
Step 1: Calculate Your Fabric Yardage Needed for Your Baby Crib Rail Covers
First, wrap your flexible tape measure around your crib rail (if they are not the same all the way around make sure you measure each side) this will be the width of your DIY crib rail cover not including the ties. We have a taller headboard style rail on the back of our crib that our son can’t reach so we only needed 3 baby crib rail covers. Our crib is the same on the 3 sides at 10″ around. To the width, add 8″ for the ties (you’ll have 4″ ties on each side). My DIY crib rail cover will be 18″ wide including the ties.
Next, measure the length of the long sides and the short sides of your crib. Mine sides are 54″ and 27″ long.
Finally, calculate the amount of fabric needed. A standard bolt of fabric is 58″ wide so that works perfectly for a standard size crib. The front rail will fit across the fabric and the short sides will fit side by side on the fabric (see fabric pattern below) so I need 18″x2= 36″ of fabric (or 1 yard) for each layer. So, 2 full yards of fabric for my crib rail cover DIY project.
If you needed all 4 sides you would need 1.5 yards for each layer, 3 yards total, for 10″ crib rails.
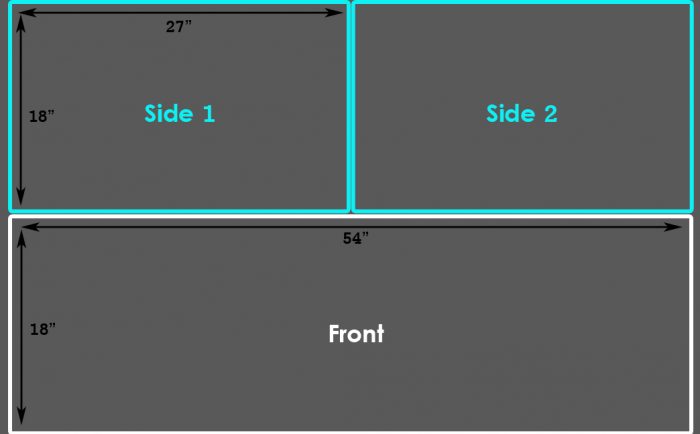
Step 2: Choose the Fabric for Your DIY Crib Rail Cover
As I mentioned above, I needed 2 yards of fleece but you may need up to 4 yards. I choose to do a reversible DIY crib rail cover because I wanted to be able to use them for future babies and didn’t want to have to commit to plaid for all of them. I choose light grey plaid for one side and dark grey solid for the other. I ended up getting my blizzard fleece (grey plaid and solid charcoal grey) for just $2.99 per yard. That was also a deciding factor in the prints and colors I choose. 😉
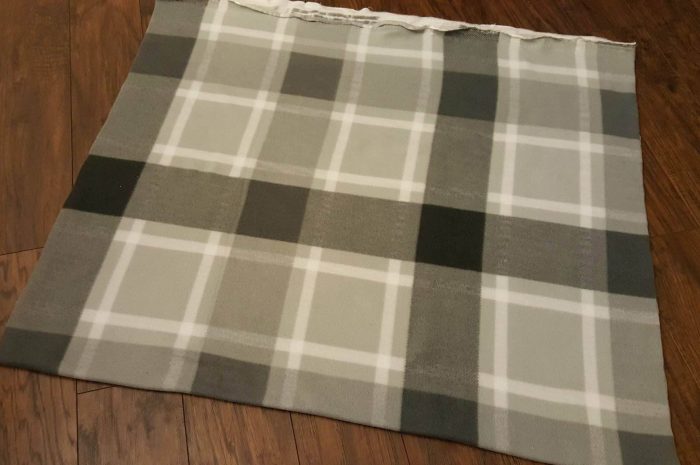
Step 3: Cut Out Crib Teething Guard from Fabric
Lay out one layer of fabric. Measure and mark your cut lines as depicted above in the fabric pattern image. Do the same for the second layer of fabric. If you choose a fabric with lines like my plaid, try to make your cut lines parallel/perpendicular to the fabric lines so it looks neat with finished.
Using sharp fabric scissors, cut out each piece of the crib rail cover DIY project from your fabric.
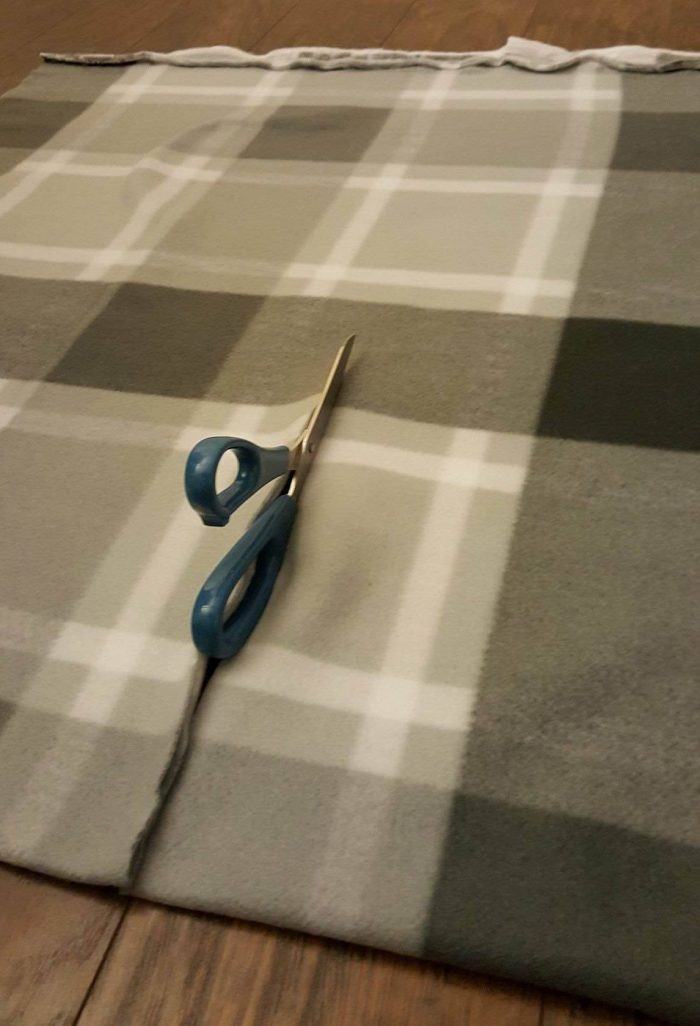
Step 4: Cut Ties for your Crib Rail Cover DIY Project
Starting with your long side of your crib rail cover DIY project, lay your 2 layers of fabric on top of one another, wrong sides together, right sides facing out (if you can’t tell which is which on the fleece it isn’t a big deal).
On the long sides, measure 4″ in to determine the length of your ties. You can either make small marks on the fabric your you can just eyeball it and measure as you go (that’s what I did). Make 4″ long cuts every 1.5″ or so (again you can eyeball it) through both pieces of fabric. Do this all the way down one long side of the DIY crib rail cover. When you get to the last 8″ or so, estimate how many cuts you need to make to even out the last bit. You don’t want one 1/2 wide tie at the end 😉
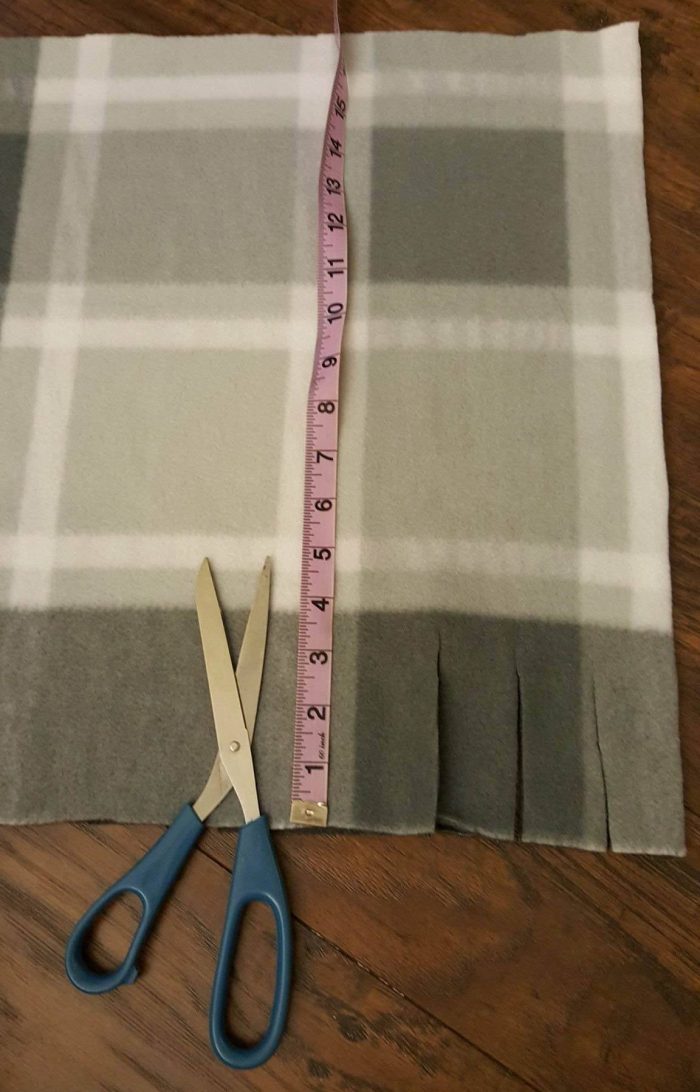
Next, move to the other side of the same crib rail. Measure in 4″ to determine the length of the ties on this side and mark if you choose to. You’ll be tying this side to the side you just cut so it’s important they line up with each other. Again, I eyeballed the cuts making sure they were close to even with the ties across from them. You should end up with the same number of ties on each side.
Do this for each side of your baby crib rail covers.
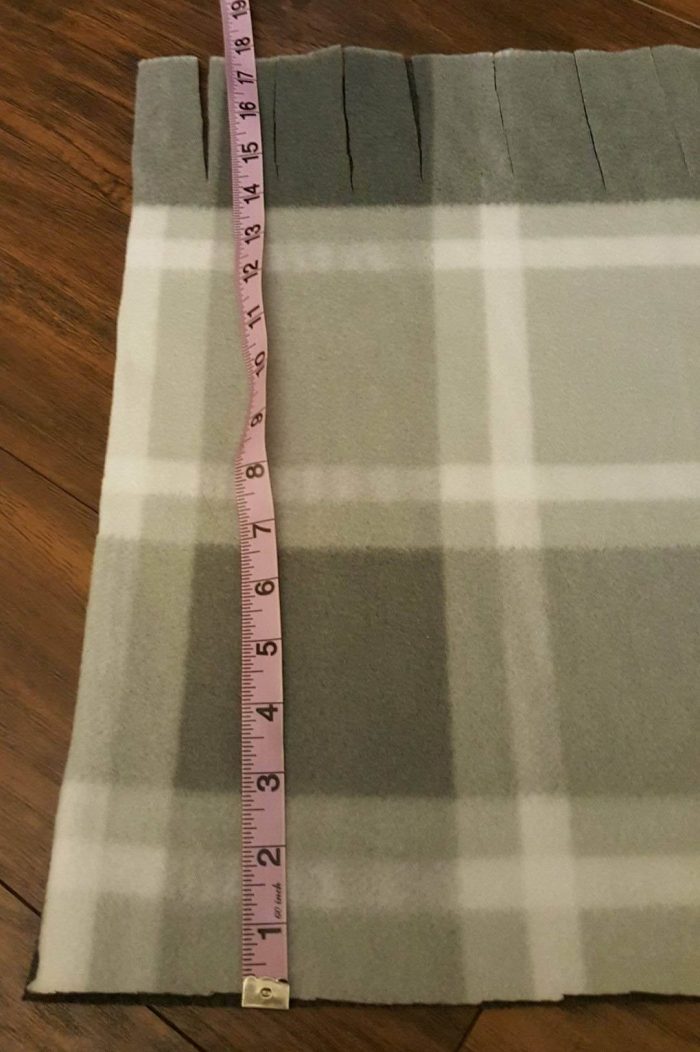
Step 5: Tie the Layers of Your Crib Rail Cover DIY Project Together
This is going to get a little confusing because a lot of tying is about to happen. We’ll have layer ties the simply hold the 2 layers of fabric together and DIY crib rail cover ties that hold the covers on the crib rails. I promise its easy, just a little hard to explain.
Starting with your front DIY crib rail cover, we’re going to tie the 2 layers of fabric together leaving some functioning ties untied for later.
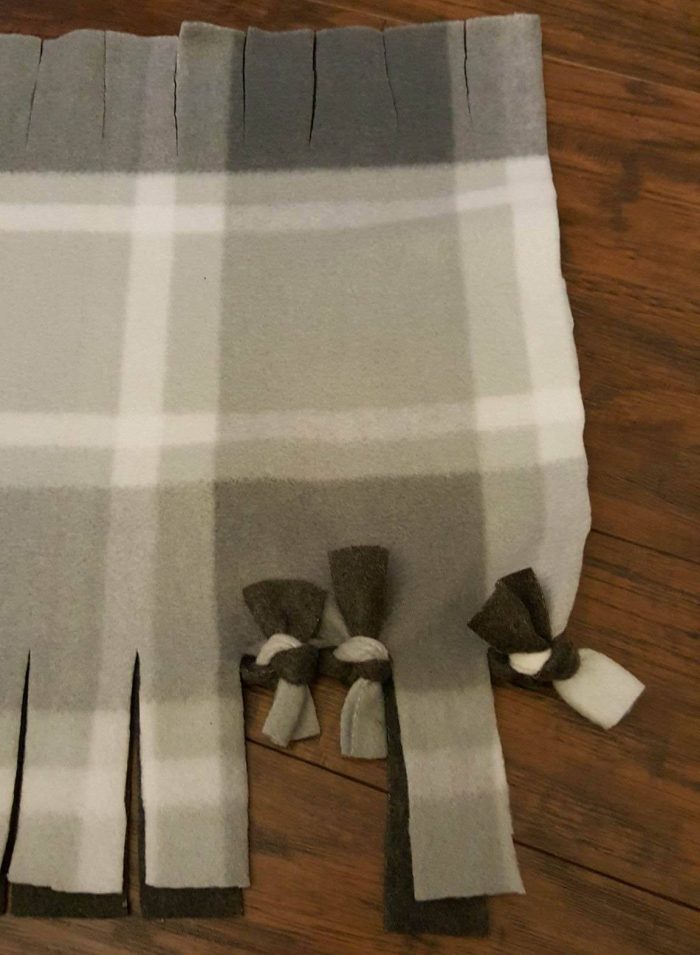
The front rail of our crib has overhangs on either end so I knew I needed to leave some space there before the first functioning tie so starting with one side of the longest baby crib rail covers, I double knotted the first set of ties and the last set of ties to create the cover of the overhanging portion. I left the next set in on either end untied which created my first functioning ties for later. I then double knotted the next 4 ties and left the 5th untied for my second functioning tie. I kept going with this pattern for the remaining ties. This combination happened to work out perfectly all the way down my front DIY crib rail cover. If yours doesn’t turn out perfect that’s okay you can’t tell in the finished product. Just make sure you have enough ties to secure the cover to your crib (one every 8″ or so).
Match the other side of this rail cover so the functioning ties will line up when you tie it on the crib.
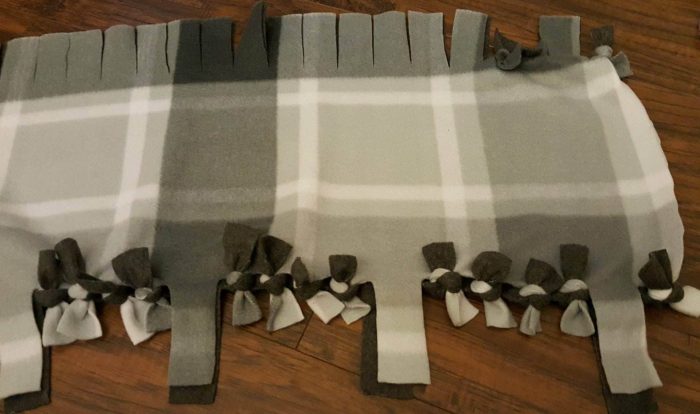
Do this for each of your baby crib rail covers.
**Note: Unlike the front rail of our crib, our crib sides do not have an overhang. I left the first cut strips untied on each end of the side covers to be functioning ties (uh, so confusing to write but you get what I mean 😉 )
Step 6: Wash the Finished Pieces of the Crib Rail Cover DIY Project
There will be some fuzzy bits from all the cutting and tying. It’s best to wash the covers now before you tie them to the crib and babe starts chewing on them. Some of your double knots will probably come undone. Just re-tie the few that need re-tying.
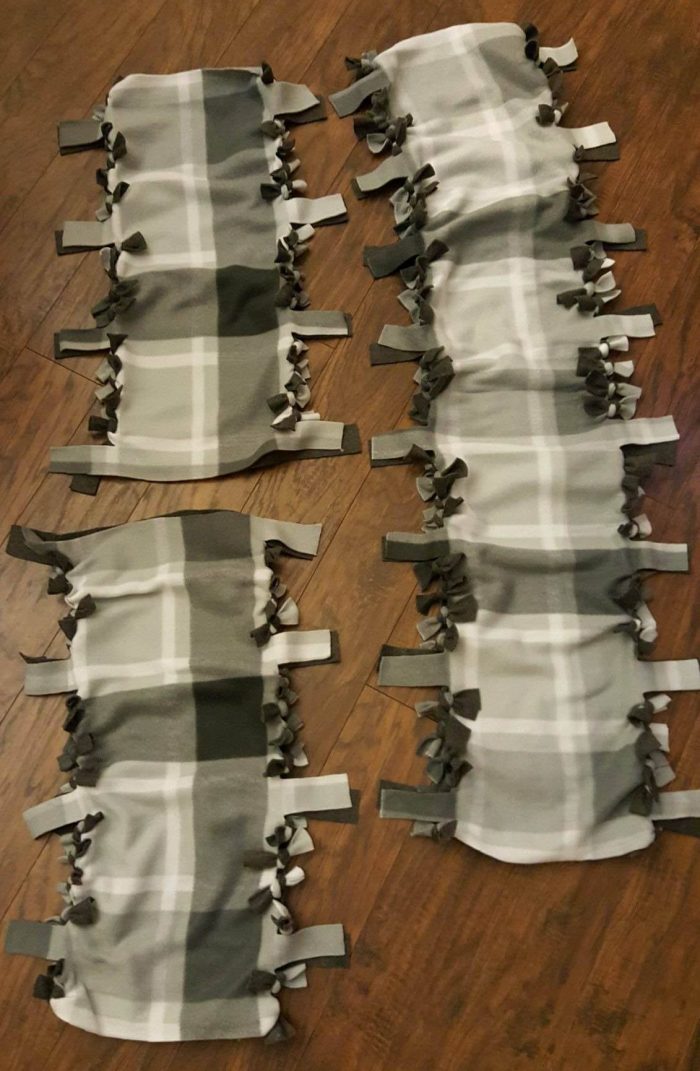
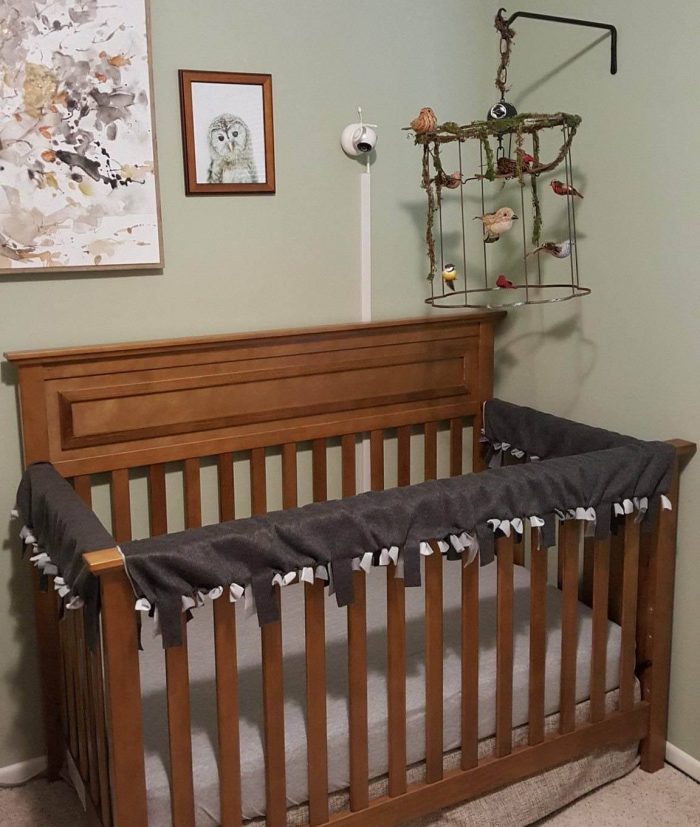
Step 7: Tie Your DIY Crib Rail Cover to the Crib!
I started with the front but you can start with any piece of your crib rail cover DIY project. Lay the cover on the crib rail. Tie together the ties on each end and work toward the middle. You may need to go around the vertical slats for some. Just go on whichever side of the slat that allows you to tie the easiest.
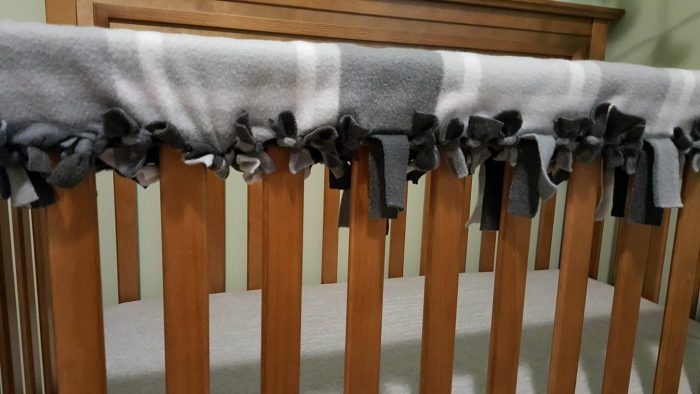
Tie on the rest of the baby crib rail covers and you’re set!
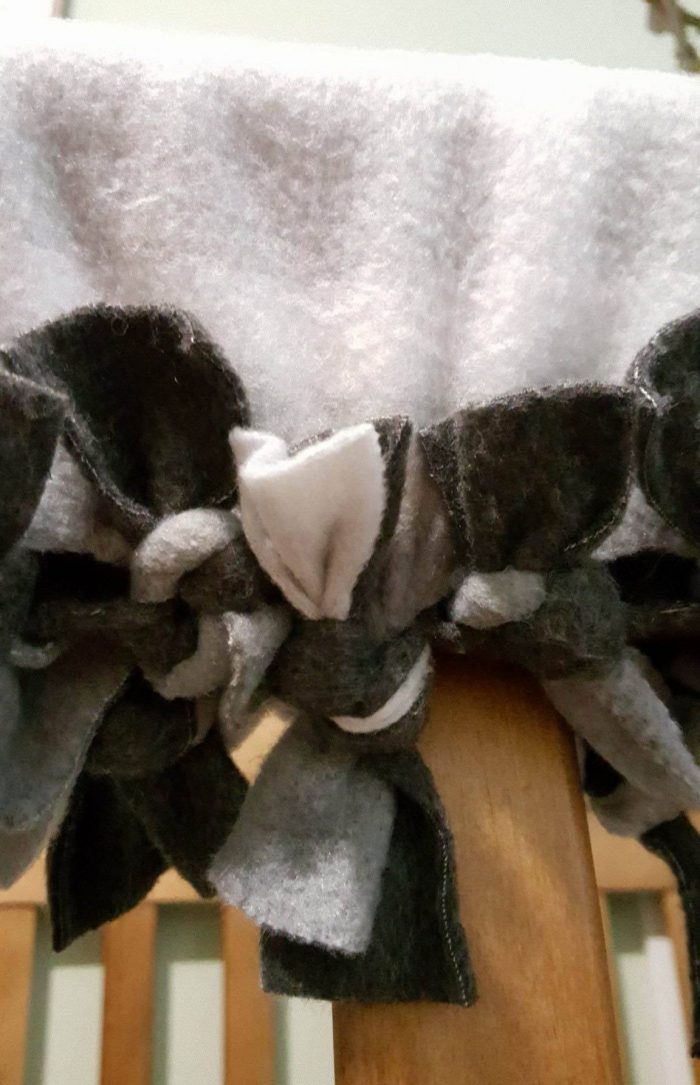
TADA!
A cute and cheap DIY crib rail cover to save your babies tummy and your crib finish!
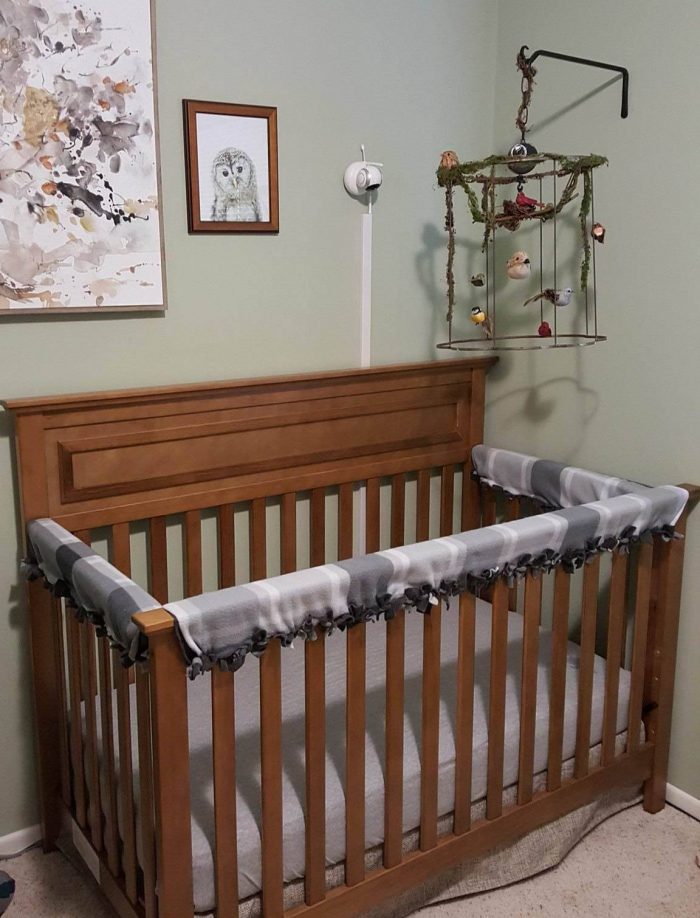
How did your no sew baby crib rail covers DIY project turn out?
Add your pictures to the comments below. I can’t wait to see all your handy dandy craft work!
Until Next Time,
XO,
Meg


I know this blog topic is from November, but I stumbled across it while researching DIY Crib Rail Covers. Thanks to you, I braved the task of making my own. Since the store didn’t cary enough of the fleece fabric I needed to match his bedding (the actual matching sheets were in the wash when I took this photo) I had to settle for regular cotton and decided to use an old mattress protector underneath. It turned out great. I don’t know how to attach a photo. Thank you!
Hey Melissa! I’m glad you found my DIY crib rail cover instructions helpful!! Using cotton fabric with a mattress protector under it is a GREAT idea! You’ve got a waterproof crib rail cover now! Thanks for sharing your tips with all the readers!
XO,
Meg