We bought our house 4 years ago now and it was in need of some updates. Recently, we had the original owners of our 1969 home contact us and ask if they could stop by. Turns out, the home was nearly original when we purchased it. Almost no updates had been done, especially not in rooms that count (kitchen, bathrooms, etc). Well that all changed the moment we signed on the (numerous) dotted lines. This is our home renovation story and how we finally agreed on creating a DIY open concept kitchen.
DIY Open Concept Kitchen: Our Spontaneous Home Renovation
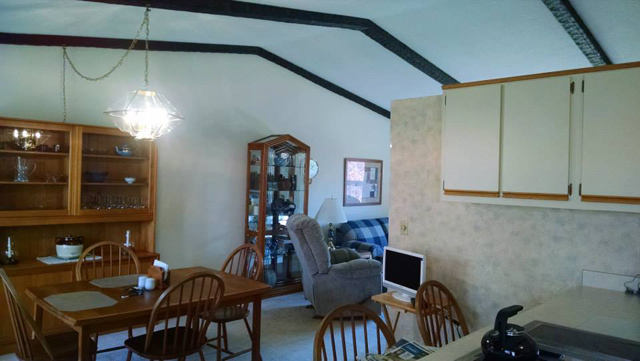
The first thing we did when we bought the house was gut the kitchen and tear out all the upstairs flooring. In our initial renovations, the one thing we went back and forth on was if we should tear down the partial wall dividing the kitchen and living area. We opted to take about 2 feet off the dining room end to open it up a bit but not entirely. I was worried about losing cabinet space and counter top space (because our wall mounted microwave would have to move to the countertop). We were also on the fence on if we even wanted our kitchen open to the rest of the house. It’s easily our messiest room and the catch-all for junk, junk, junk.
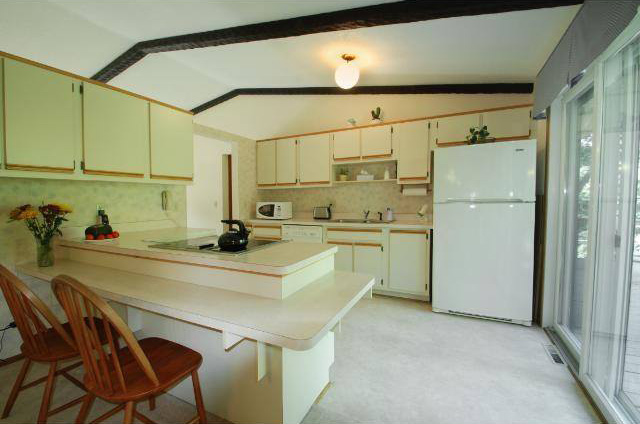
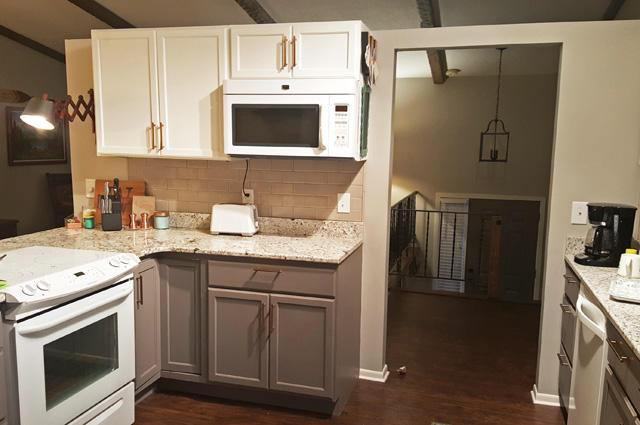
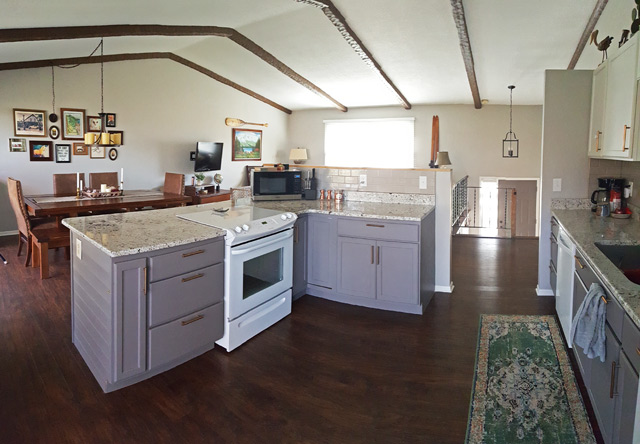
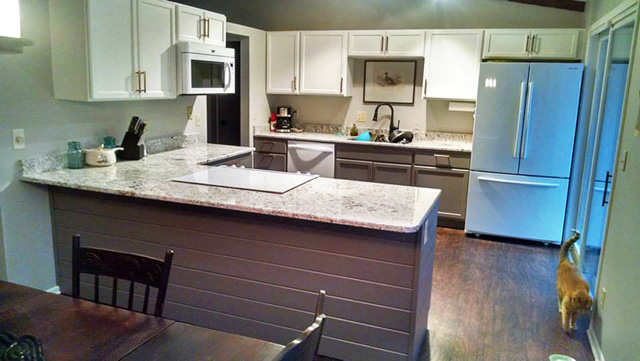
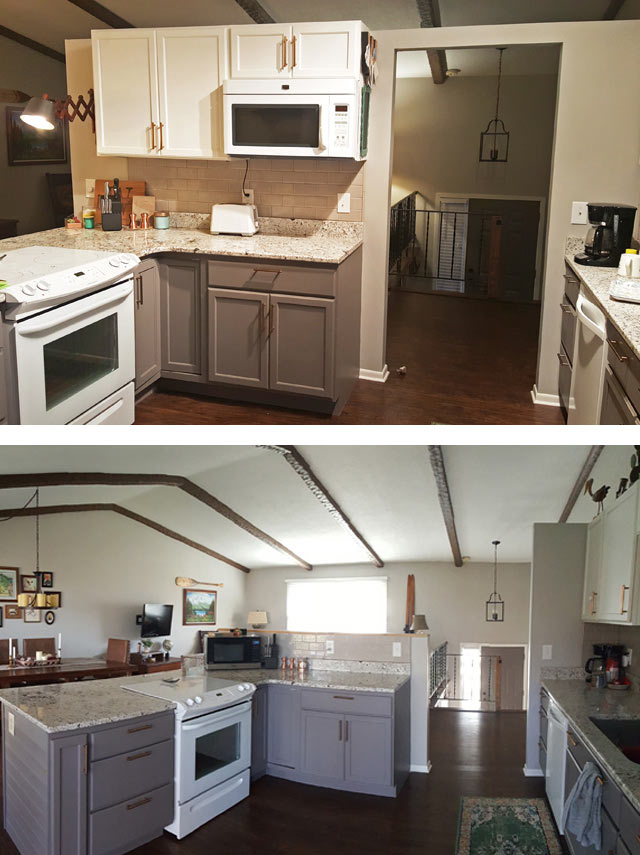
Original Kitchen:
Remodeled (but not open concept) Kitchen:

Well, fast forward to 4 years, and 1 toddler later and we’re questioning our decision. For the past few months, we’ve been throwing around the idea of cutting down the wall to make a DIY open concept kitchen and living room. Right now, it’s not practical for kids because I can’t see them in the living room, and we want to have more family holidays at our house and an open space would be so much better for that.
There are also a lot of other variables that go into it because we use the wall, cabinets, countertop, and bookcases currently there. It was tough to find a good solution without completely re-doing our newly renovated kitchen, until my crazy epiphany last week.
Using Kitchen Cabinets to Make a Buffet
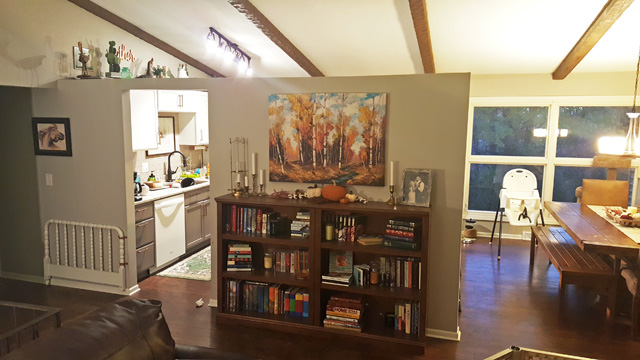
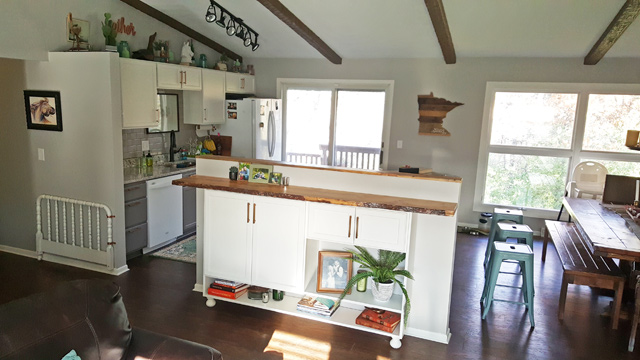
It was a Tuesday, I was sitting in the living room looking at the super impractical bookcases realizing it would be nearly impossible to have them all survive toddlerhood when it hit me. Ditch the bookcases and use the UPPER cabinets on the other side of the wall to make a narrow buffet cabinet. Those cabinets currently hold all of our nice wine glasses, cookbooks, and things we only use at holidays. There was no reason they couldn’t be stored on the other side of the wall (with child safety locks installed).
Both sides of the wall in question:

We could turn the top into a bar and actually wind up with more counter space then we had before and not lose any cabinet space.
I was sold so I called my husband at work and explained about 1 million miles an hour what a great idea I had for a DIY open concept kitchen. He, being the super supportive husband that he is, saw the vision and totally agreed to let me go nuts. So, literally the next day I was clearing our cabinets and moving books to make way for demo. Now, we’re lucky because our wall doesn’t go to the ceiling. It’s purely “decorative” and has no structural load whatsoever. We could literally cut it down and patch it up within a few hours. So that’s what we did.
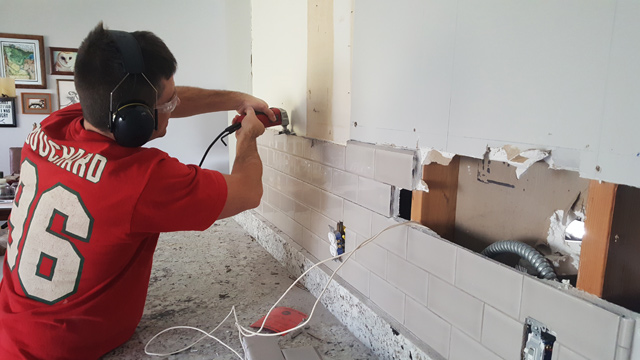
Cutting Down a Pony Wall
I purchased an oscillating multi-tool at Menards for $15 and rented a reciprocating saw (or sawzall) for $20 and after work that day we took down the wall and created an open concept kitchen.
It was crazy how fast and easy the whole project when. We cut through the grout lines in our backsplash and the sheetrock with the multi-tool. My husband then used the sawzall to cut through the studs and down she came.
The only hiccup we ran into was the electrical wiring for the outlets on that wall. The conduit and outlet box fasteners were 4″ higher than we were hoping which meant the wall had to be 4″ higher than planned. Considering we took down a wall, this was a minor setback and only slightly changed the overall design. Instead of having one large bar top covering the wall and the buffet at the same height, we have a wood cap on the wall that matches the decorative wood bar top covering the buffet. The higher wall actually works better than planned because it hides our countertop microwave and knife block, so our setback was actually a win!
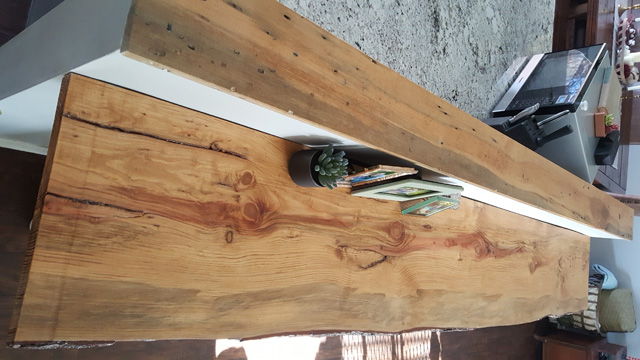
Using Live Edge Wood for a Buffet Top
On Thursday we picked up the bar top, which is our favorite part of the project. It’s also the one splurge item but we knew it would be going in. We found it for $150 at the Building Materials Outlet in Eagan, Minnesota (that price is actually reasonable in our area). If you haven’t been to BMO in Eagan, make the trip! It’s such a cool place when you’re doing home projects. I found the matching piece of pine for the wall cap at Menards in the Standard Pine Board section. It’s the same wood we used for our DIY Barnwood Wall. It’s crazy how cool super cheap wood can be if you dig a little.
That night we built the buffet cabinet from more standard pine boards from Menards and installed it on the wall.
The next day I patched, primed, painted, and stained. Nick came home and we installed the wood tops and on Saturday we polyed the wood and caulked the seams and it was done.
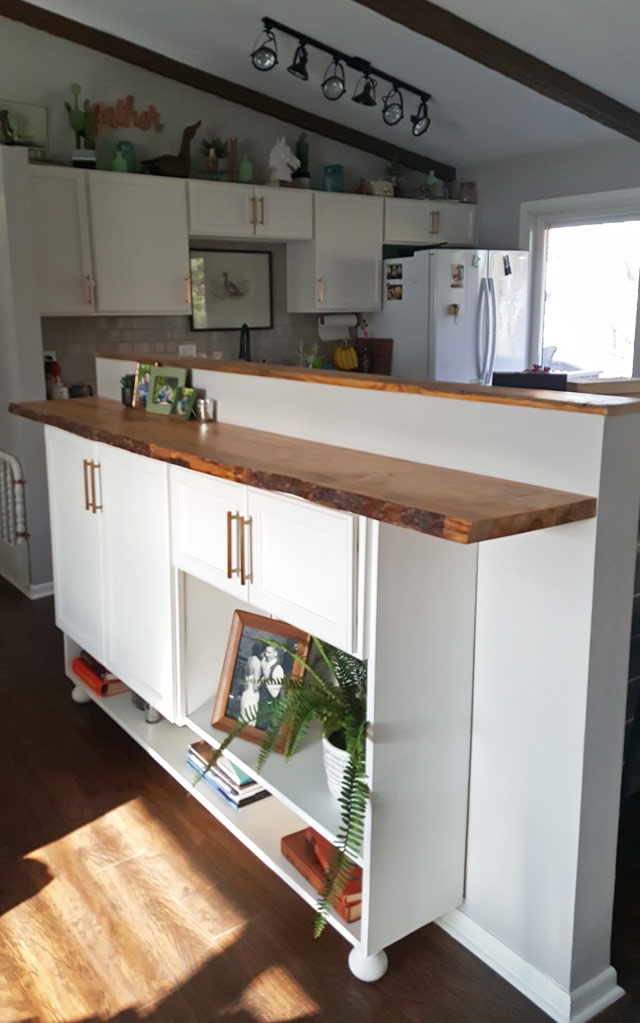
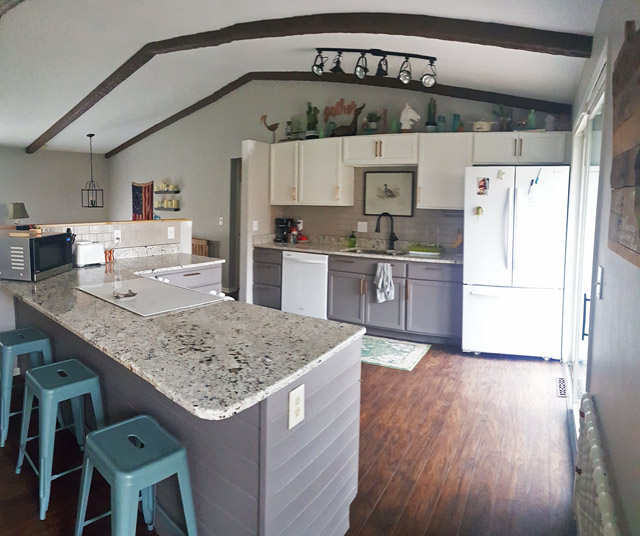
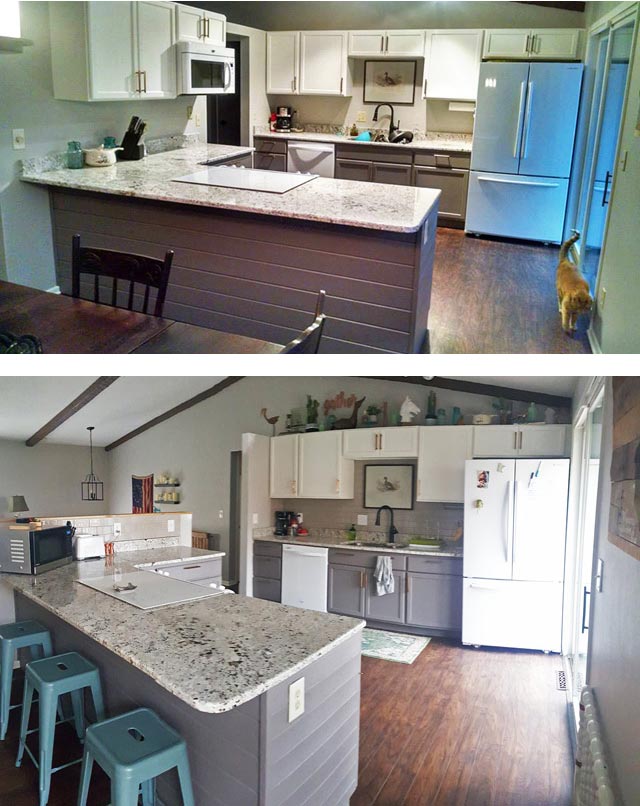
Before and After Photos: Making a DIY Open Concept Kitchen in 4 Days
In just 4 days we went from a closed off kitchen to a completely DIY open concept kitchen and living room. It was whirlwind of a project but it was so much fun and so satisfying. I can’t believe we didn’t do it sooner!

Until Next Time,
XO,
Meg


Share Your Experience